why design it like this? put simply …… it only needs 1 person to build and erect because of its sections.
the other thing is you can easily see that using this plan a green house of any size may be produced because of its modula design.
but another reason is my house has no side entrances !!! so the only way from the front to the back of the house is through the garage and then through a normal sized doorway so no large structure could be moved if needed.
as you can see this all becomes very portable when in its pieces.
So just adjust my sizes to suit your space.
————
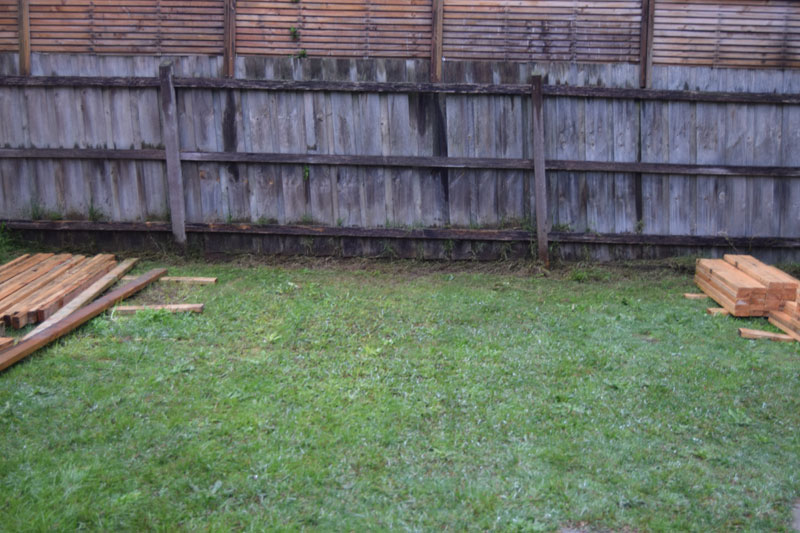
First, my ground is sloping and grass isn’t going to grow so i plan to put down pebbles, thus to keep the wood off the ground and stop rotting as i plan on moving this one day.
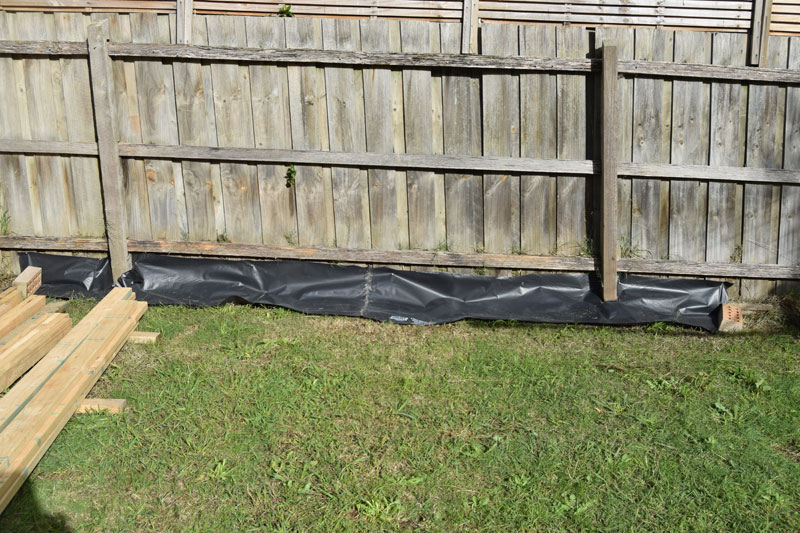
so 1 brick at the highside then measure the width, get it level using a brick base, you may need to alter the height of the ground to adjust finer level, 4 bricks high for me.


once you have a level, lay down the plastic and place more bricks where you want them, i’m adding some half way but you may choose to do a complete foundation?

lay the 2 side base pieces down and then the first back piece on top, secure with 1 screw at the bottom and straighten vertically, i’m using the fence but you could use a piece of wood at 45degrees as a prop.
( i’m just using 1 screw as i will sq it all up once completed , so this will allow some shifting )
BUT first , how did i get to here? first go source the wood, i didn’t work the dimensions out so i just grabbed as much as i could over a few weeks from ” my bunnings”
and here is “my bunnings” a gold mine of throw aways from building sites !
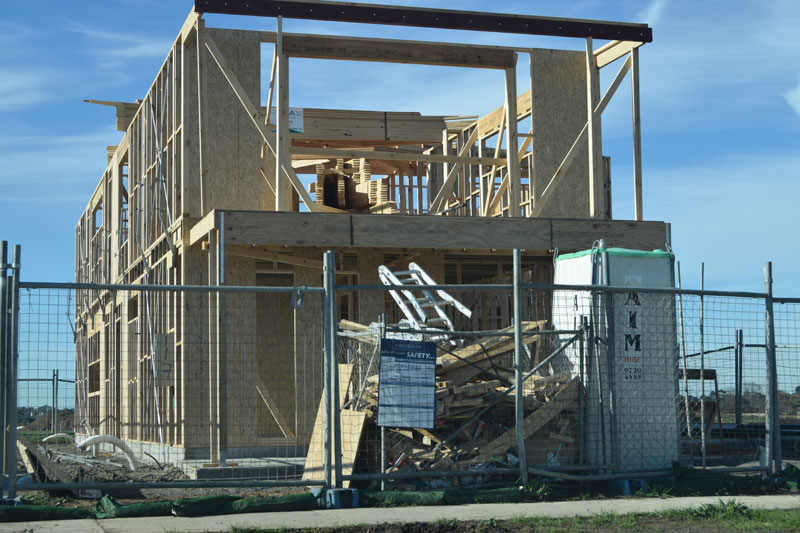 if its in the bin its YOURS is the moto, you’ll never find anyone in authority on a building site so i normally wait for the frame to be finished and then again for the roof to be done, then the chippies leave and the tilers come in, so they don’t care.
i was getting “95mm x 35mm x 3.6M ” lengths that had 2 nails in each end and a little warp, i have a MASSIVEEEEEEEEEE development just 5 mins down the road @ 30 houses at a time going up, its literally endless supply. + they throw away nails, screws and the metal cross lenghts that sq up your frames.
Next do a plan and cut the wood to size…..ish. the ruling piece in my house was the door width, after i decided that everything else feel into to place based on what wood i had. its made up of sections duplicated and stacked.

first build some saw-horses, a block of wood and 4 slanted legs, make sure they are the same height.
2 is ok, 4 is best but you can get around that by adding a wider piece of wood to the horse for the wider sections.
–
–
–


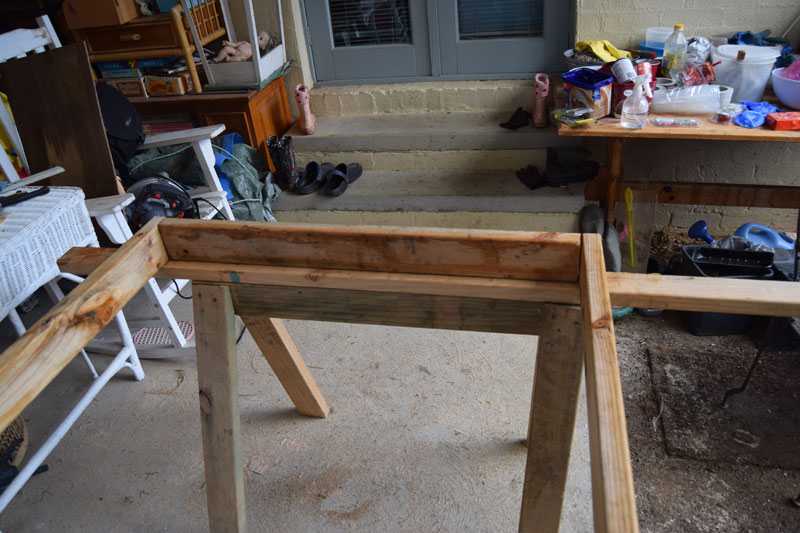
it just rained for days so i had to do it all under cover.
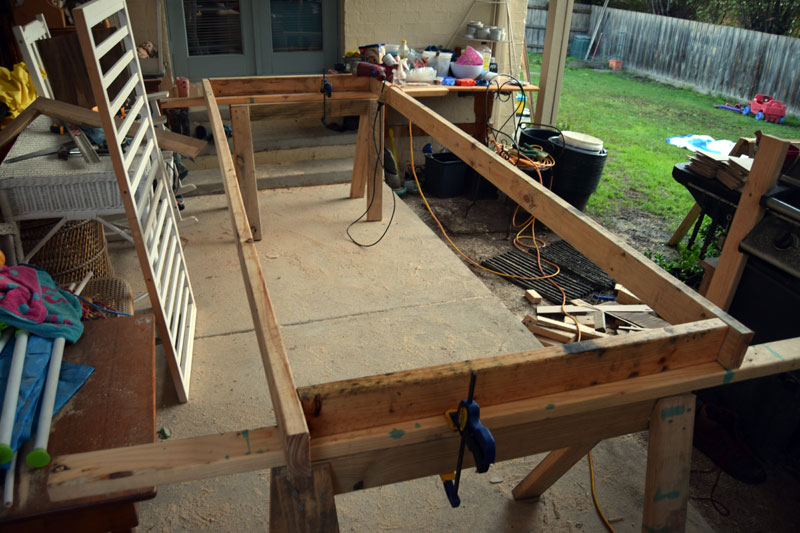
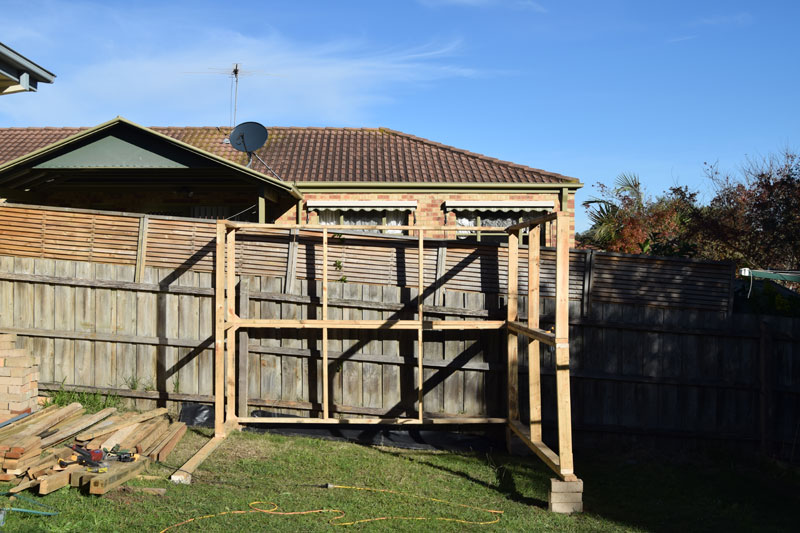
thats the frame @ 2.7M wide by 900mm high, just 2 screws through each join, then more support in the middle, there’s 4 of these 2 front, 2 back and then 2 more shorter for the bottom/right side.
the door is of course vertical so has 2 vertical sides separate using the same middle support system.

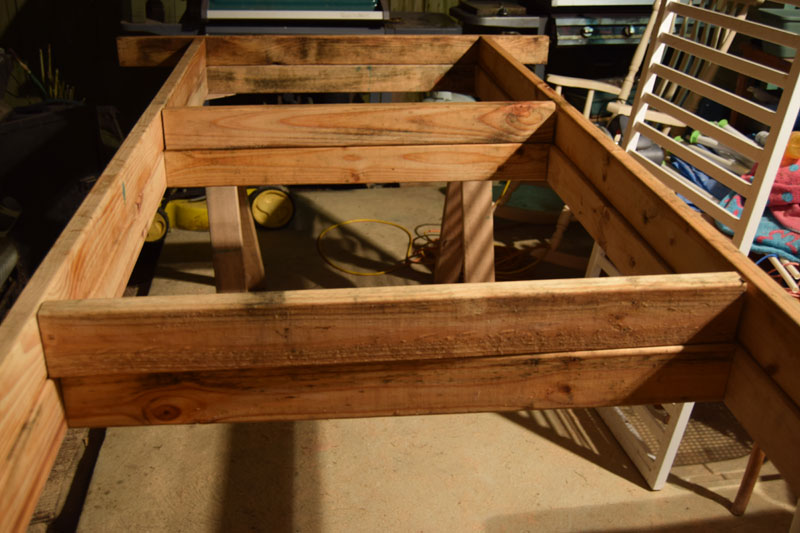
above, you see once i did one i laid the next on top and repeated, this gave me good sq and also a solide surface to work on.


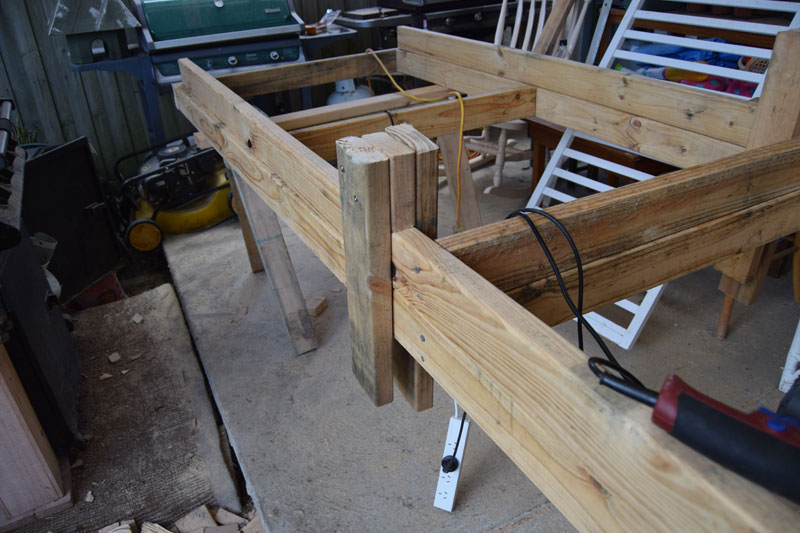
i made some guides from scrap wood, BRILLIANT, they slide down and hold the wood inplace, no clamps, when you push to screw in it gives the wood push-back and keeps it sq along the length, i only made 2, but 4 would be better.
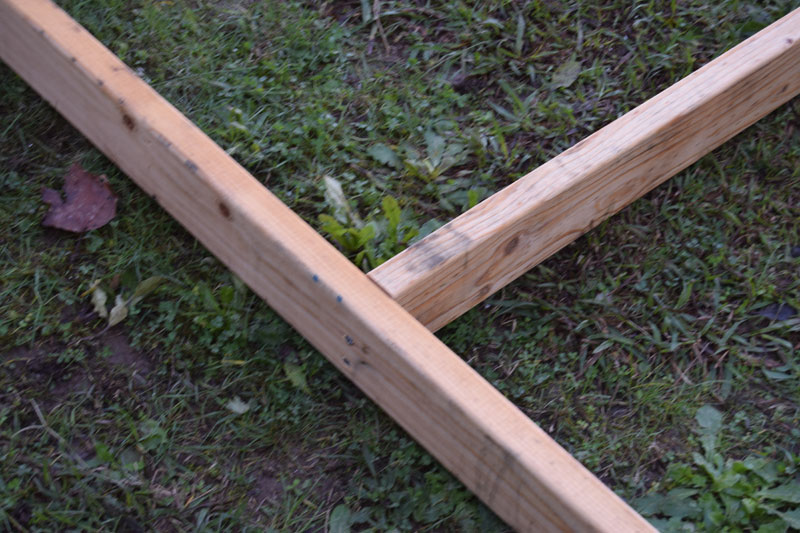
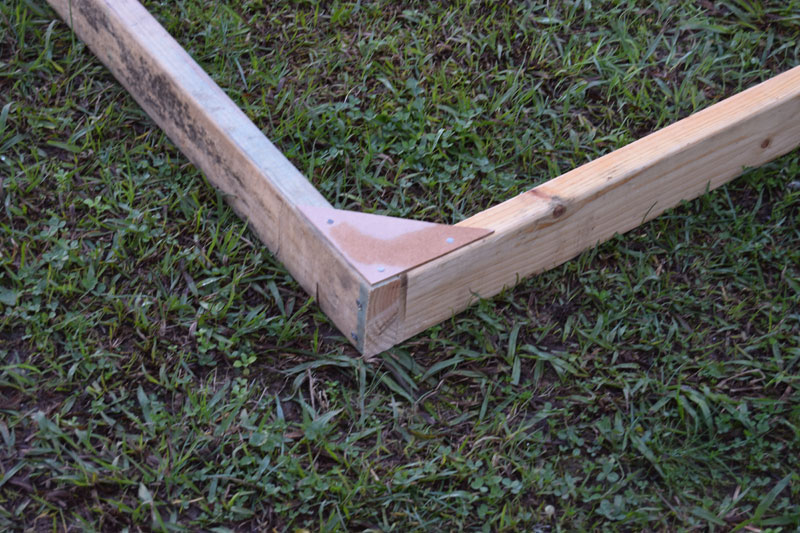
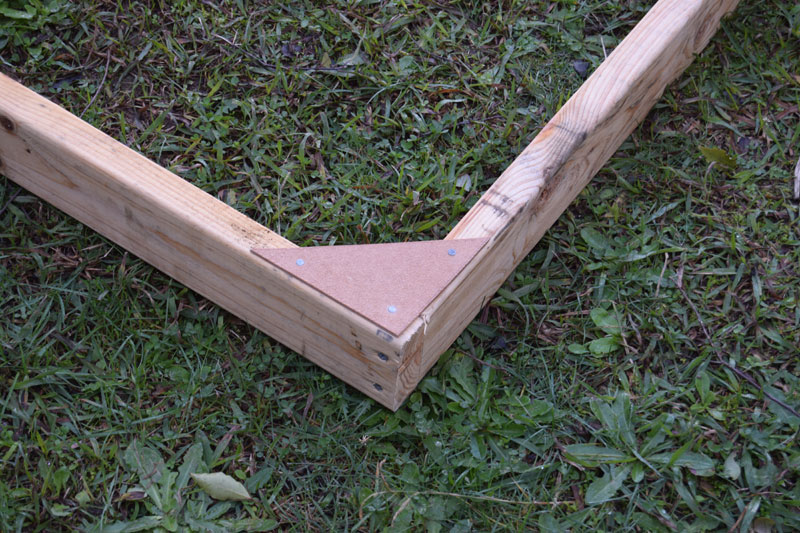

so i got some really thin @ 3mm woody/cardboard? stuff and made small triangles, they aren’t for MAKING sq, but just supporting the corner joins, simple but very useful.
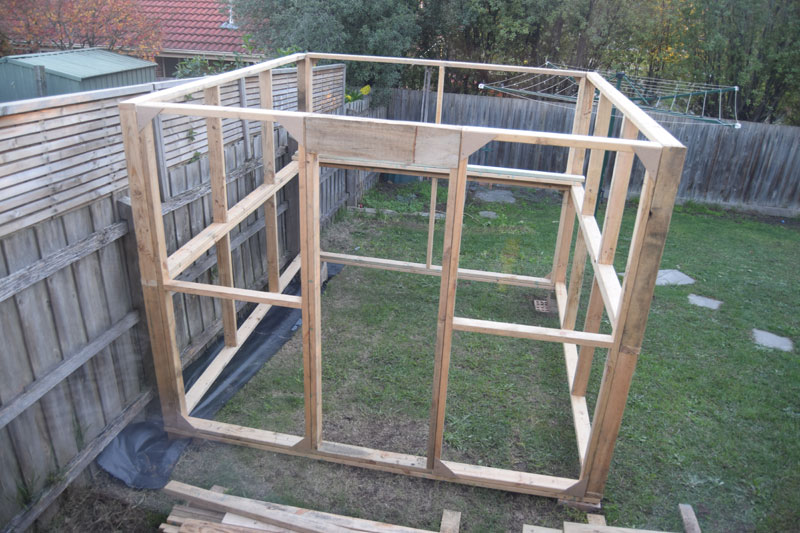
so now i had all my sections completed, i laid them out and it all seemed to fit !

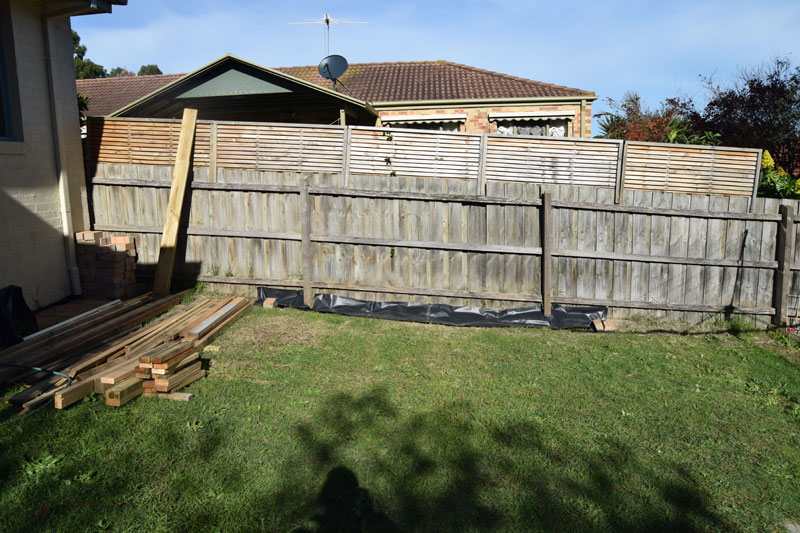
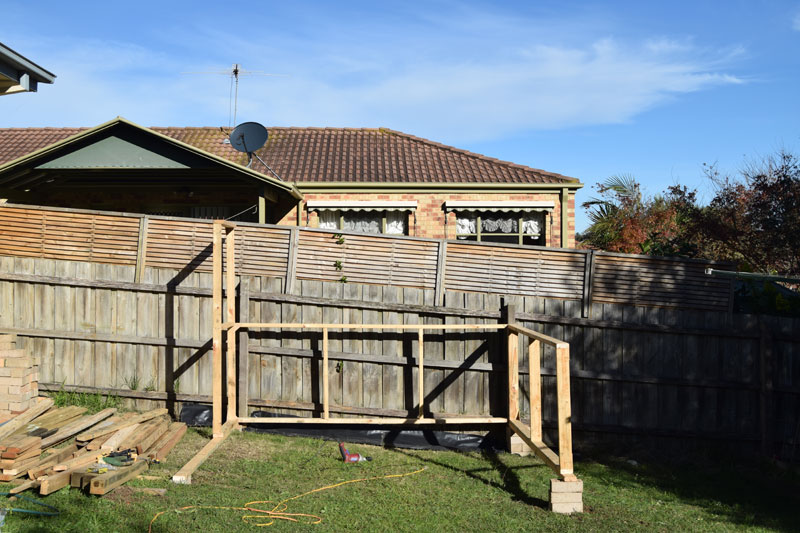
these images were taken 12th June so close to the winter solstice and this part of the garden gets good sun even with very large trees in neighbours northern yards, the left corner of the image is South, the fence straight ahead is SW and the right of the image is West, making North over my right shoulder, meaning it will get PILLED with sunlight for most of the year.
the plan is for herbs, toms, cucs, caps, lettuce all year round + pre-prep for planting @ 1st september as there is a garden bed already on the right that gets no sun in winter. vermin is another issue that the green house solves, possums and birds consume everything we try at the moment.
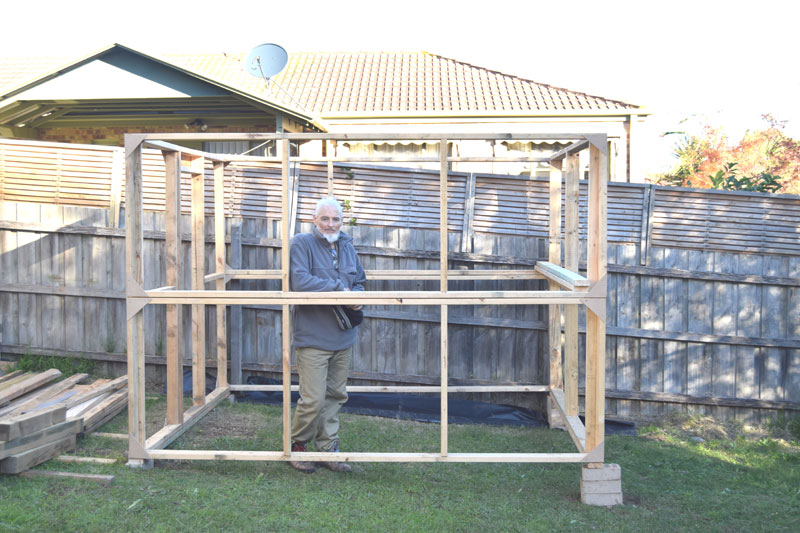
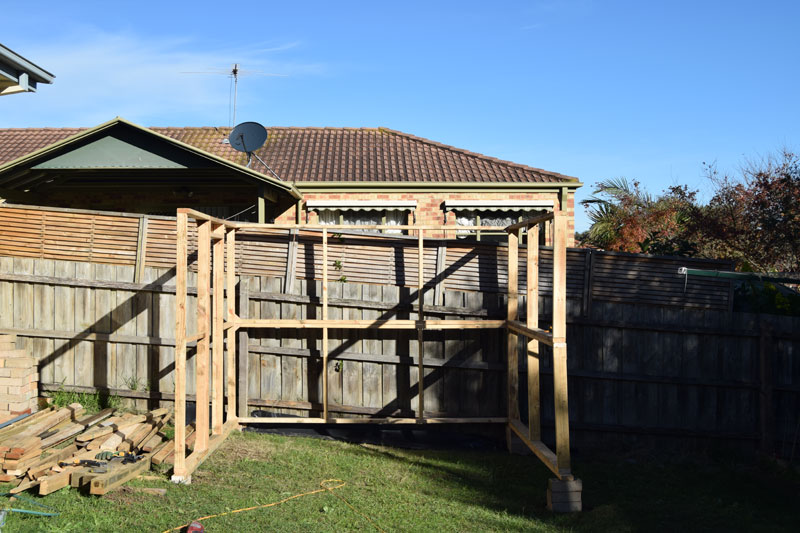
You can see how easy it is to put up and take down.

So back to the start,i have my bricks on the down side level with the drop of the yard, place 2 loose beams back to front, next add back piece which joins the 2 side supports which are there for SQ but also to sit the door and 2 verticals onto, next add top side vertical and screw to back, add bottom side panel and screw to back. screw, note this is all self supporting now.
Add back top panel, add bottom side top panel. screw
drill and bolt middle top and bottom panels together. ( haven’t done yet)
add back panel sheeting on outside ( haven’t done yet)
add top side top base piece, add bottom side top base piece. screw

add door, add top side vertical2, screw
add front bottom, add front top, screw, screw, screw
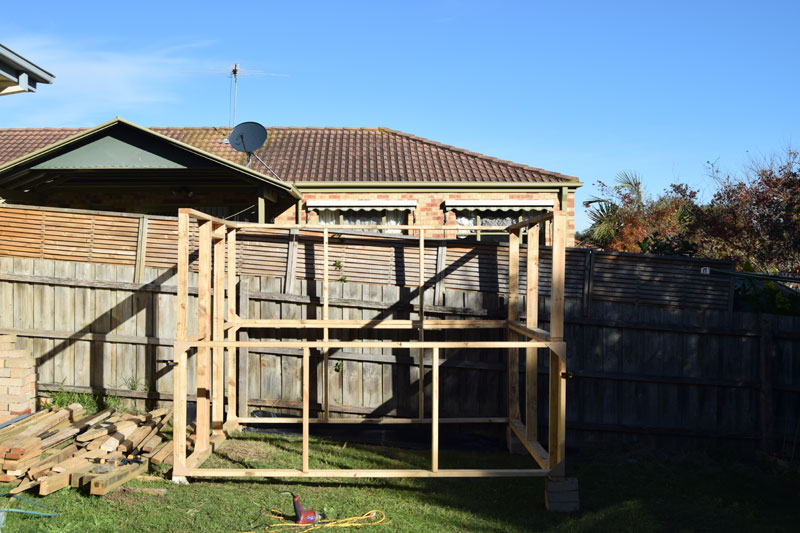
you see i left the front till last so i didn’t have to lift anything over anything else,
(stage 2 ) now go inside and place cross metal bars at back corners crossing over to front corners and square up build, join in the middle and front, this will hold it all together until you get the roof on, you can choose to keep it or remove it ? it does make a nice place to hang pots from !
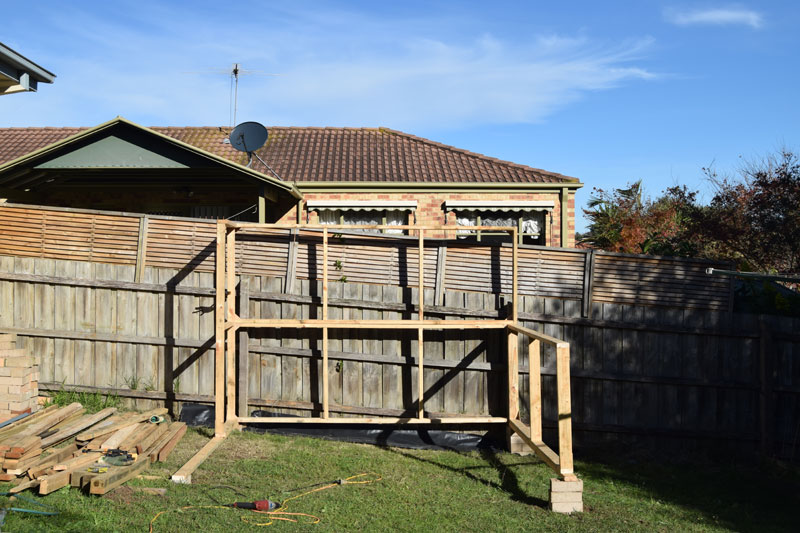
so if you watch the shadows you will see just how quickly ONE PERSON without the need for props was able to get that up,and i wasn’t in a hurry, i’d say the heaviest piece is @ 15kg.
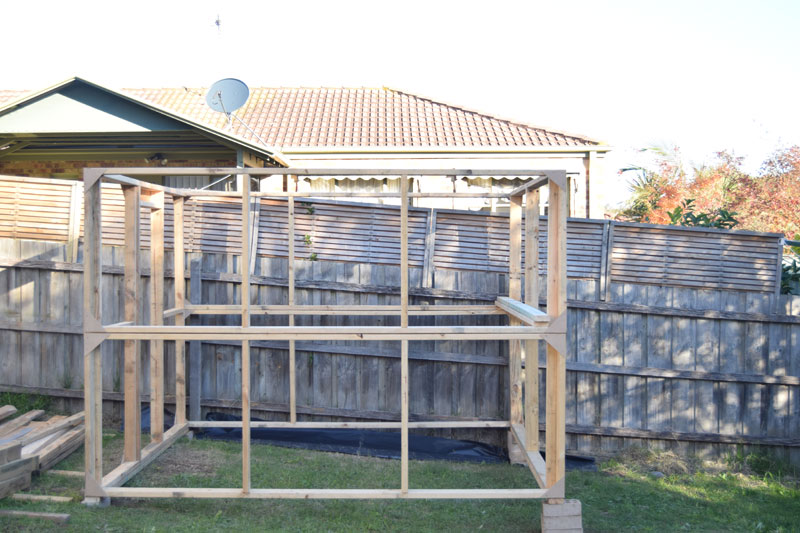
thats stage 1, next is putting in the cross metal to sq it up, adding a roof, windows, vents and door + gravel floor
then shelves, tables and plants
its @ 2.7m x 2.4M and you can see now how it can be as small or large as you want it just by changing the section sizes, but the duplication is always there with the 2 layer setup.
once complete the roof will have a run-off up the hill to the house and stor water in tanks ready to send it back down for watering.
you can see the house is only 2-3M uphill away so i can run a downpipe almost horizontal along the fence line keeping the water as high as possible, then i have a natural slope down to the plants